Home Media Streaming Server with Wireguard and OpenWRT
Special thanks to Chakradhar Dhulipalla for feedback and review.
🔗 Background and motivation
Long gone are the good ol' days when Netflix used to be the only streaming service you subscribed to and sparingly shared with your friends and family providing access to virtually every video content out there. But now if you haven't noticed there's a new streaming service rolled out by every other big producer and publisher with their exclusive content as the only selling point to drive adoption.
In this new world, for some it's perfectly reasonable to subscribe to every service exclusively streaming the new TV series. For others it's the constant juggle between one or two services every month.
If like me you don't have any qualms with piracy and are relatively safe from law enforcement in your jurisdiction then you might say there's an easy solution and you'd not be alone. The fragmentation of the streaming market is the single biggest reason for the subsequent re-rise of the piracy industry (vice.com).
Pirating leads to some problems of it's own though, that of storage space. Deleting old files to make space for new downloads, being tied down to a single device, scrubbing to exactly where you left off an episode on another device after taking the pains to copy the gigabytes of data between devices.
This inspired me to come up with an alternative that solves most if not all of the paper cuts from pirating.
🔗 Abstract
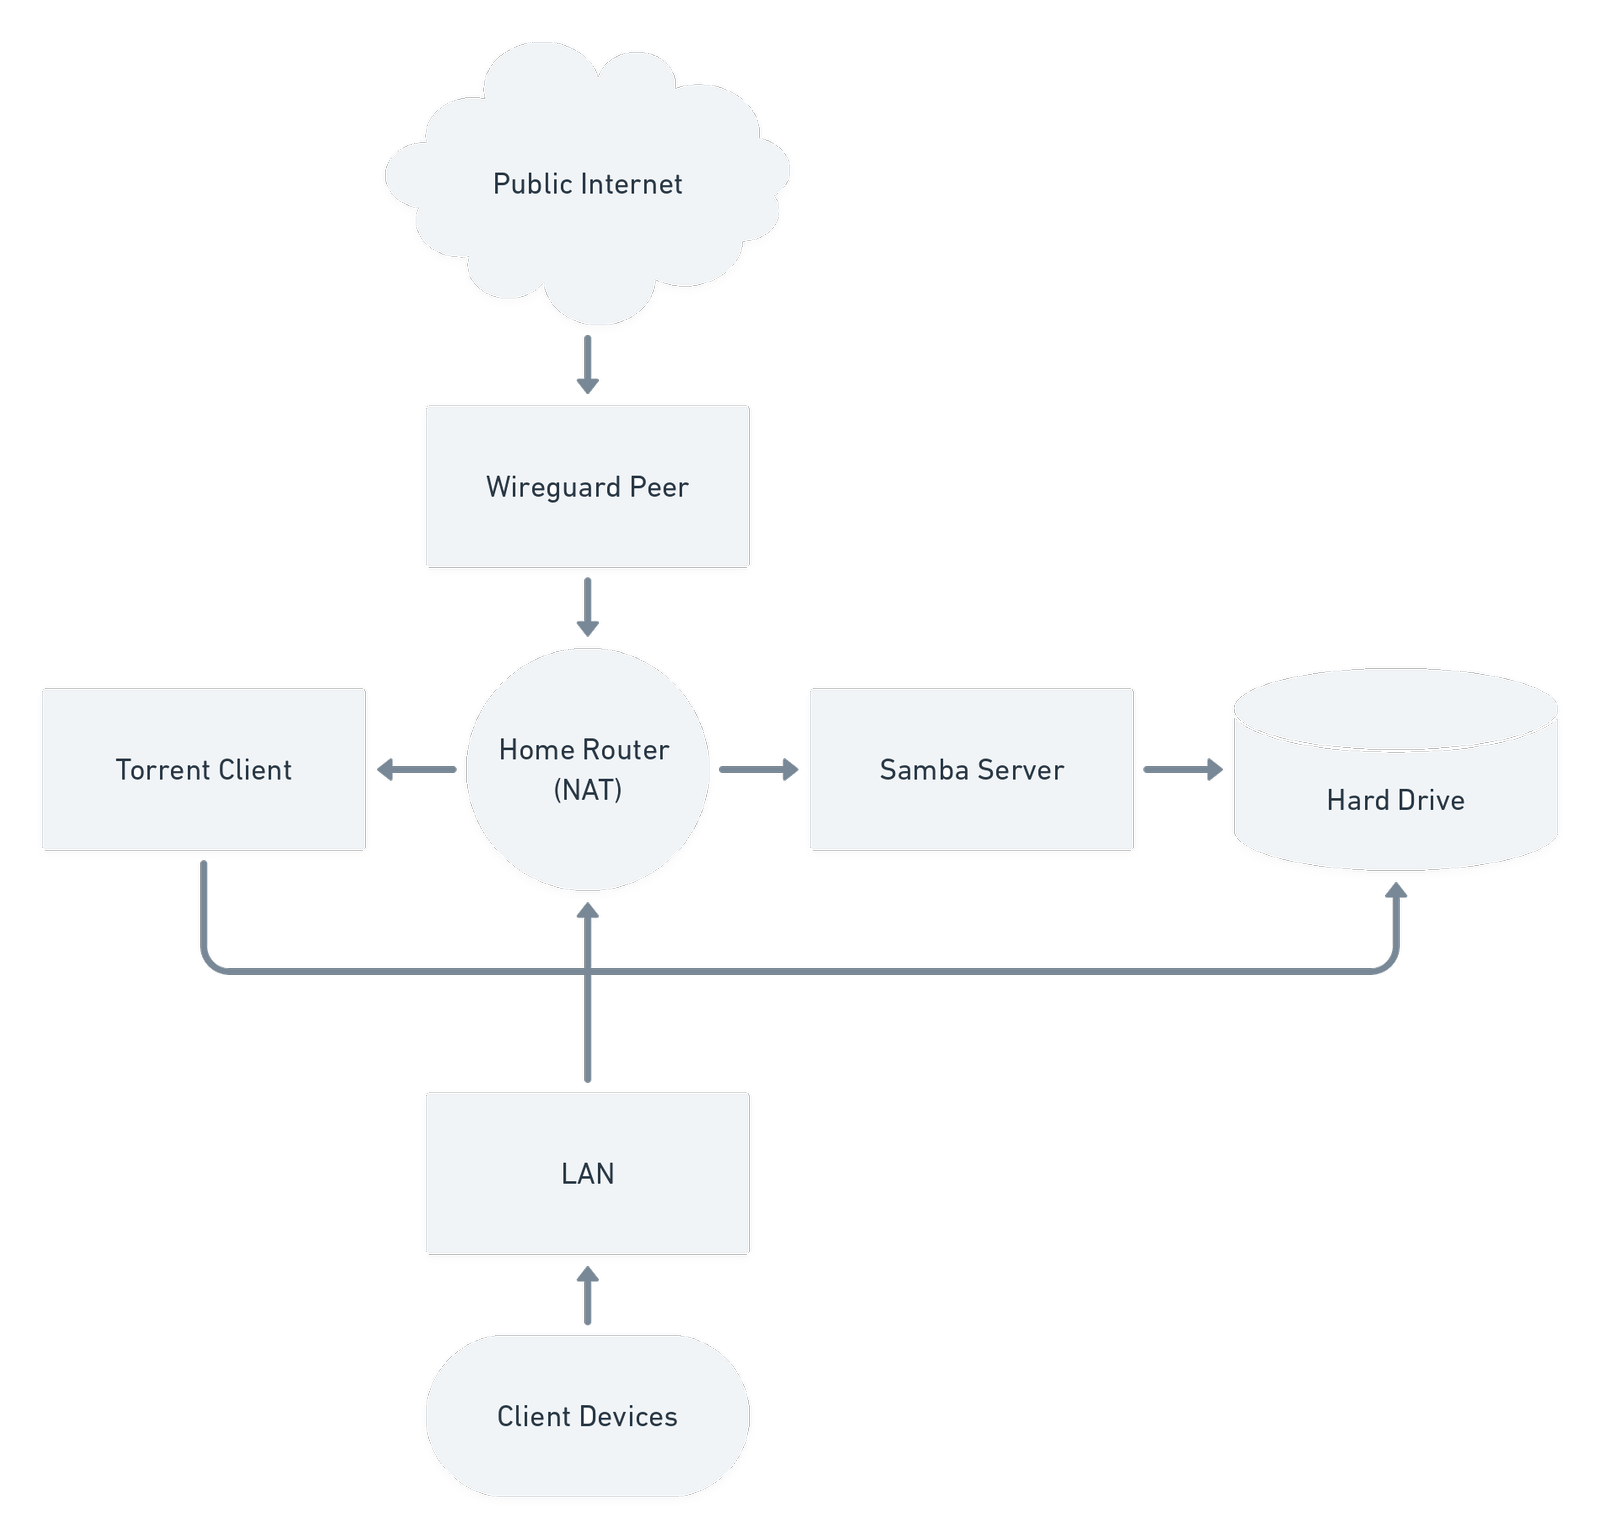
This is an overview of how you can effectively have your own streaming server with zero running costs, setup at your home with consumer hardware you most likely already own, allowing you to stream your entire media library via your WI-FI connection when you're at home and through a Wireguard VPN connecting to your home router when you're on the move.
🔗 Prerequisites
Most of the hardware used here is pretty standard and should be easy to acquire. But this whole setup is contingent on having a router with OpenWRT installed or one that is supported by the OpenWRT project and you are not afraid of tinkering with you're router to install OpenWRT on it yourself. Besides the hardware requirements, general familiarity with *nix systems and command line would make this very easy for you.
🔗 Disclaimer
This is not going to be a step-by-step tutorial since the underlying technology and the CLI is constantly evolving and changing. Rather I'm going to just describe the architecture and link to the OpenWRT wiki where necessary.
🔗 Ingredients/Requirements
The actual hardware requirements are:
- A recent router with at least one USB port and OpenWRT installed.
- A portable USB hard-drive/SSD or a NAS box with a USB connection.
- An Ethernet cable in case you mess up your WiFi/firewall config.
🔗 Architecture
Our Software stack would comprise of mainly these four main technologies each of which I will explain in detail:
- Samba server: Filesystem over the Network.
- Wireguard peers: A secure VPN
- libtransmission: A torrent client
- DDNS: Dynamic DNS to update our router IP address to a DNS record.

🔗 Samba
The premiss of our setup is having a Network Attached Storage (NAS). Off the shelf NAS boxes are generally more expensive but they do allow you to setup hard-drives in a RAID configuration providing redundancy and backup. If you already have a NAS box you can use it instead otherwise if you're not doing any content creation and don't need high write throughput then a single drive is more than enough.
There are two main filesystem-over-the-network solutions
- NFS: the Linux native Network File System.
- Server Message Block (SMB): A widely supported protocol with Microsoft's own implementation for Windows.
Since SMB is a more widely supported protocol and we need to be able to access our NAS from any client device including Windows and MacOS we will be using Samba, a SMB implementation for Linux.
You can find the details on how to setup Samba on OpenWRT on the wiki.
To Access the Samba drive from a client point it to the IP address of your router. For example if you router has an IP address 192.168.1.1 then you can access the drive at smb://192.168.1.1.
🔗 Wireguard
Wireguard is a new modern and secure VPN in-built into the Linux kernel that is based on public key cryptography for peer verification and authentication. Wireguard is simple to setup yet performant making it the ideal VPN to use on embedded devices like home routers unlike OpenVPN which has a huge dependency on OpenSSL which takes up a lot more flash storage space as well as being highly CPU intensive.
Setting up wireguard on OpenWRT is not very different from setting it up on any other device besides installing the required packages which you can find here.
For a better more general guide to configuring wireguard see this excellent blog post by Stavros Korokithakis.
🔗 Transmission
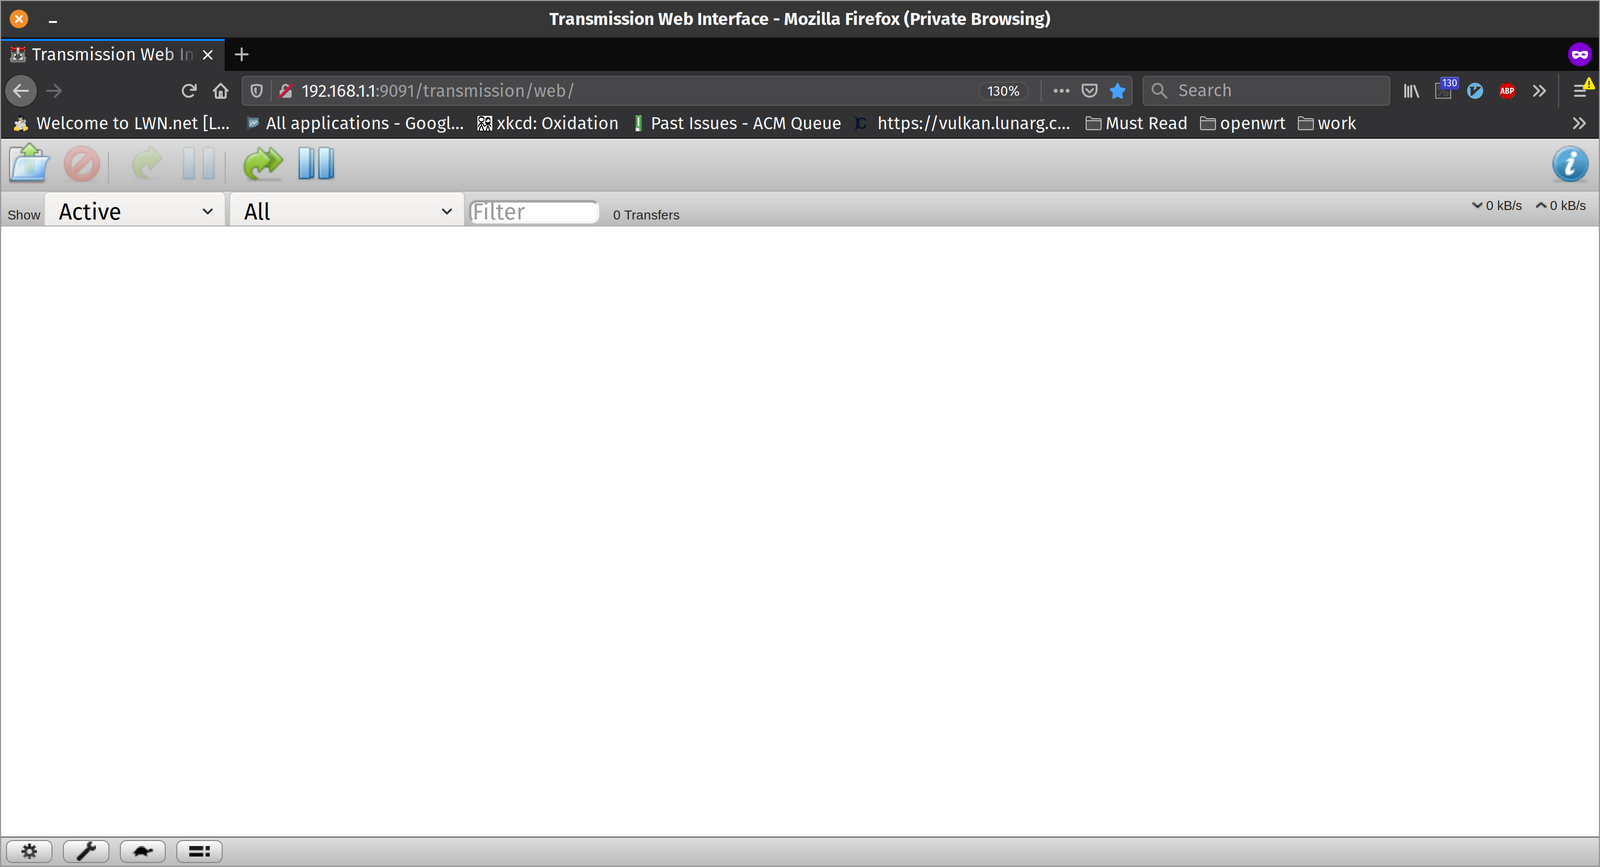
libtransmission is a small library to easily download torrents onto any device though for it to be useful you often have to pull in at least one additional library that interacts with libtransmission over RPC. Only caveat with libtransmission I faced especially on my router was that it put a non-trivial CPU load while actively downloading a torrent, I'm not sure if it's because of my CPU not being capable enough or me having something misconfigured. But it's generally not an issue if you don't have something downloading 24/7.
Details on how to install and configure transmission are here.
Once you have everything setup correctly along with wireguard you can effectively login from anywhere and queue up a torrent to download with the full bandwidth of your home connection directly onto the hard drive connected to your router.
🔗 DDNS
This is something we shouldn't really need but alas we require unless you have a static IP connection for your home! With the way wireguard works we need to know the IP addresses of all our peers we wish to connect to. There is some work going on that could make wireguard work with dynamic IP address but until that is stabilised we need to use hacks such as DDNS.
Majority of ISPs allocate a new IP address to home gateways every time it tries to connect. DDNS is an old and reliable way for to be updated every time the IP address changes.
Details on how to get DDNS working on OpenWRT can be found here. There are some recommendation of good DDNS providers on the wiki. I personally prefer to use dynu with DNS-o-Matic. DNS-o-Matic allows you to multiplex to various DDNS providers making sure you have backups in case of any DNS outage.
🔗 Conclusion
After this I hope you have a better idea of how you can run your own media streaming server and tune it to your own liking. If you liked it please share with others and help spread the decentralization of the internet and be in control of you own data and preferences.